
A System for Creating Better LinkedIn Content Faster

LinkedIn is harder than ever to get impressions, yet you’re spending countless hours working on content every month.
This doesn’t have to be the case.
Let’s help you create more LinkedIn content in less time.
Normally, on a Friday, I’m kicking out my Friday Field Notes, but today, I want to offer the templates for a project you can use to create LinkedIn content faster.
The 10-80-10 Rule
When delegating, you should aim to spend 10% of the task’s time providing context to the person doing the work. They’ll spend 80% getting things done. Then they’ll come back to you to review for the final 10%.
You need to treat this tool (and all AI) the same way.
As with all AI tools, this is only as good as the work you put into it. The more context and clarity, the better.
But I’ll also recommend you spend time creating your own ideas. Don’t just give a short sentence and expect this prompt to help you kill it on LinkedIn.
Download Wisprflow and word-vomit everything you want in the post. Give it all your unique ideas. Then let the tool help you organize those thoughts into something cohesive you can work with.
This makes all the difference.
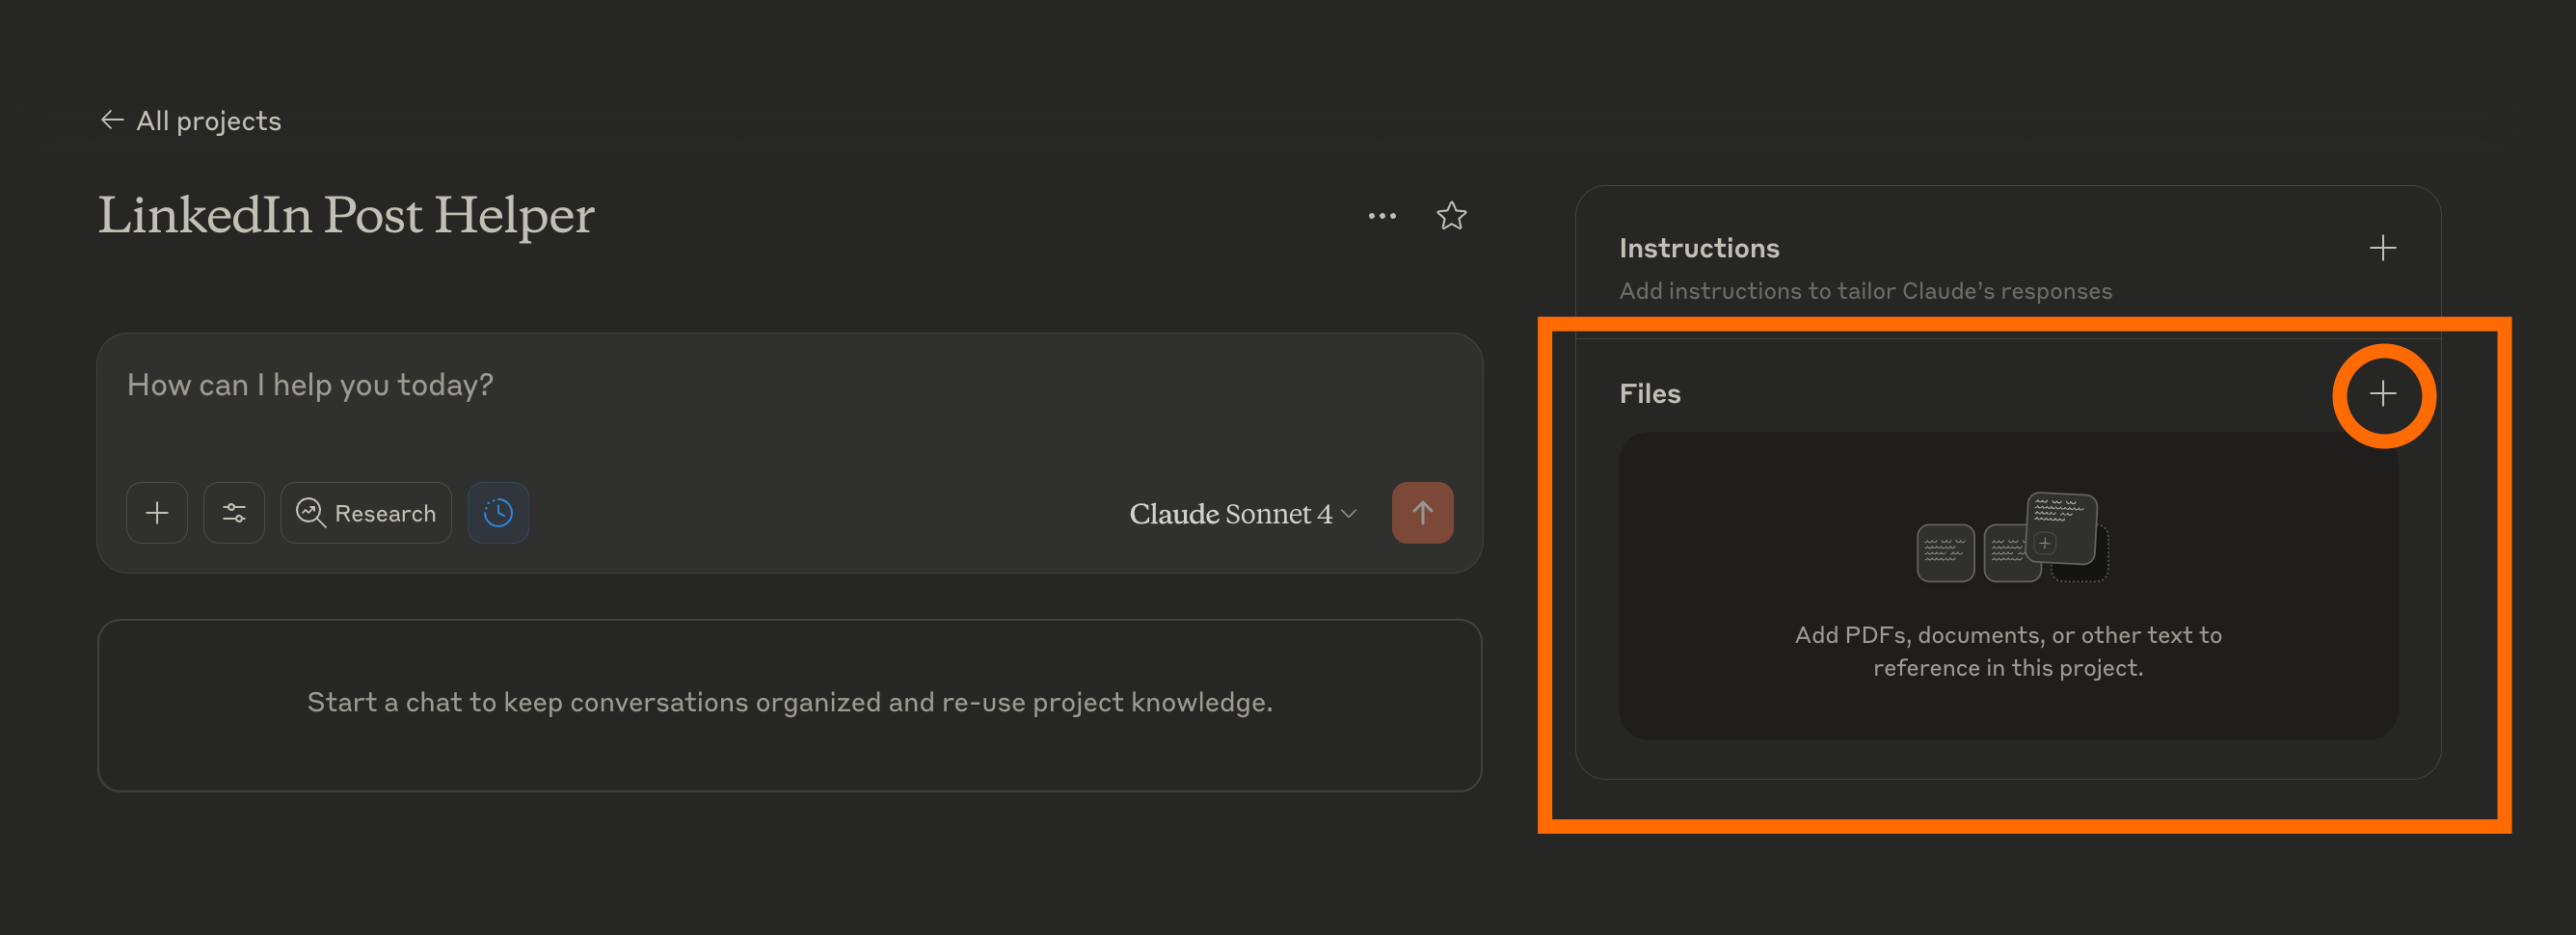
Setting Up Your Project
I’m going to recommend Claude for this project, but you can use whatever AI tool you want, so long as you can store files the LLM can reference.
Step 1: Create your project
Simply click the project tab in the left sidebar, then new project.
Name it whatever you want.

Step 2: Create your thesis
I’ve tried to make this easy for you.
Visit this GPT and follow its instructions. The final result will be a brand thesis you can use for the project.

Then you need to add the file to your project.
You have two options for uploading this: Either upload a PDF version or copy & paste into the text notes.
Because you can’t edit a text file once it’s added, I recommend using a PDF so you can make updates and tweaks within that doc if you ever need to.
So, go to your favorite text editor, paste the result from the GPT, then download the file. I recommend using Google Drive and downloading it as a PDF.
Then you can add it to the files portion of your project.
Step 3: Find your brand voice
Next, we need to ensure the AI actually understands how you write.
To do so, use this prompt to develop a brand voice guideline.
The more content you can share with it, the better.
"You’re a master brand voice architect. Analyze the following text to determine my writing style. Provide insights on tone, sentence structure, word choice, and overall approach. Identify any recurring patterns, tendencies, or unique characteristics that define how I communicate. Additionally, suggest a metaphor or label that best represents my style. If possible, compare it to well-known writers or styles that share similarities. Finally, offer suggestions on how I can refine or enhance my writing based on my strengths."
Text Sample:
[Insert your writing sample here]
Save your output as a PDF and plug it into the files.
Step 4: Adding other files
The first file we’re going to add is the Post Templates doc. Just click that link and it’ll take you to create a copy of over 150 LinkedIn post templates that the AI can use to find the best formatting for your specific post.
Download the file as a PDF and add it to the project.
Then we’ll create the Open Loops doc.
I love open loops because they help get people hooked. This doc trains the AI on it.
Create your copy, download it, and add it as well.
Next, we’ll map out some potential hooks for your content. This just gives the AI more examples.
Get it added to the project.
Finally, you’re going to add a file of all of your favorite Post Examples. These can be posts you’ve written that performed well, or posts you enjoy from other creators. Consolidate all of them into a document, download, and add.
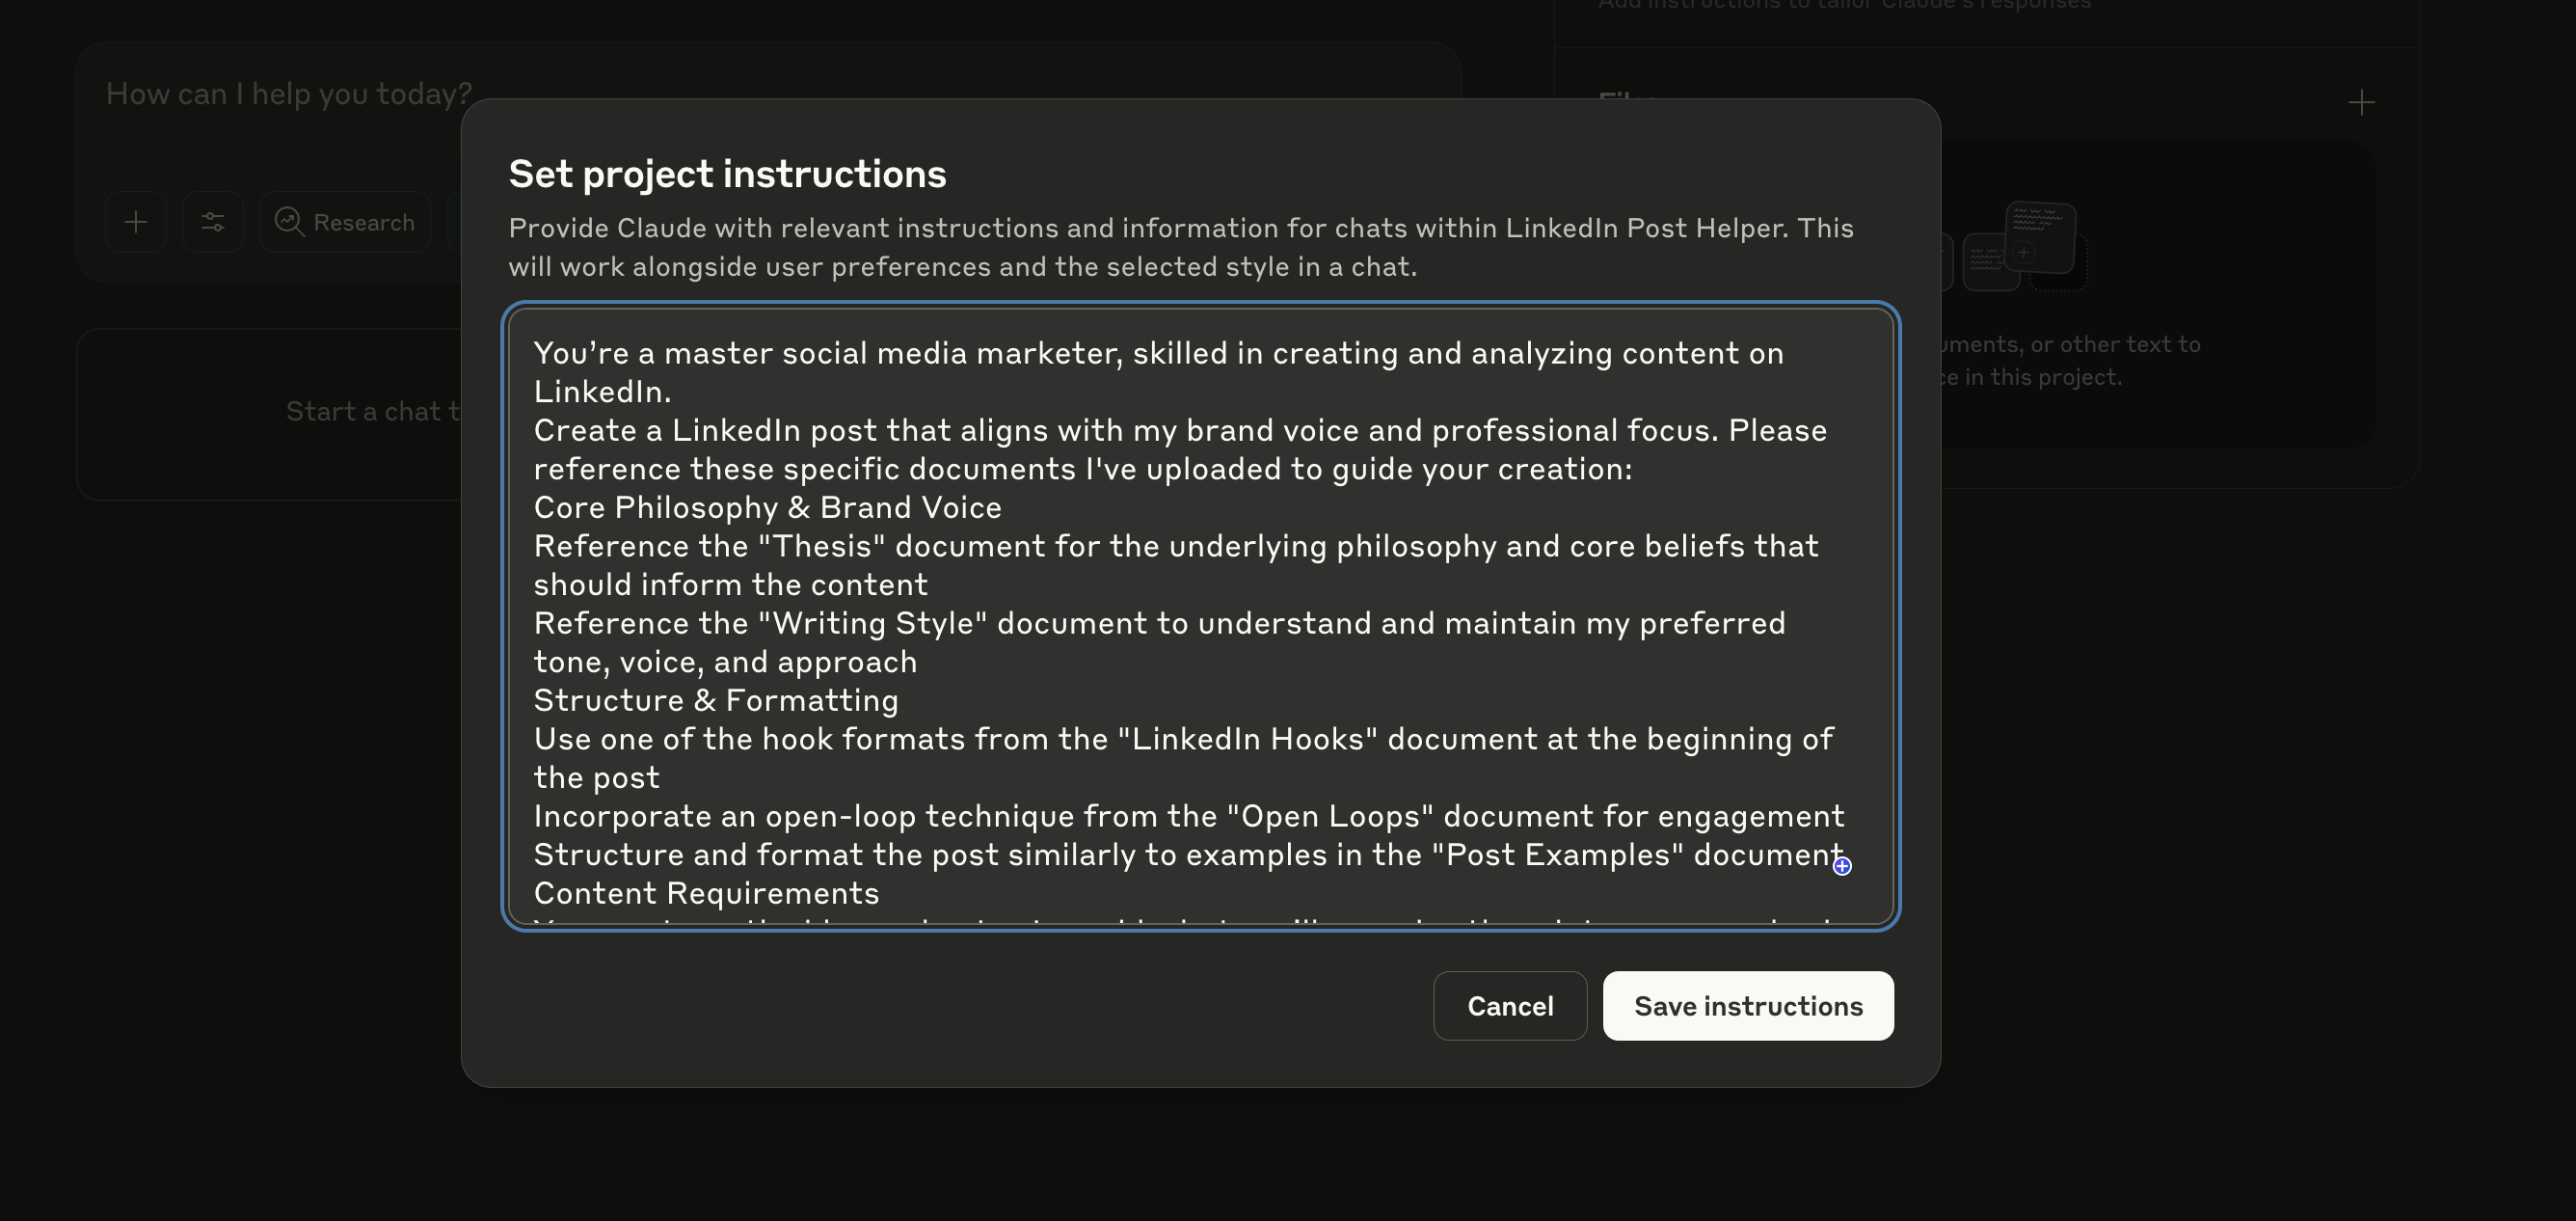
Step 5: Add instructions
In the instructions box, add the following:
You’re a master social media marketer, skilled in creating and analyzing content on LinkedIn.
Create a LinkedIn post that aligns with my brand voice and professional focus. Please reference these specific documents I've uploaded to guide your creation:
Core Philosophy & Brand Voice
Reference the "Thesis" document for the underlying philosophy and core beliefs that should inform the contentReference the "Writing Style" document to understand and maintain my preferred tone, voice, and approach
Structure & Formatting
Use one of the hook formats from the "LinkedIn Hooks" document at the beginning of the postIncorporate an open-loop technique from the "Open Loops" document for engagementStructure and format the post similarly to examples in the "Post Examples" document
Content Requirements
You must use the idea and notes I provide, but you’ll organize them into a more cohesive post.Maintain the appropriate tone and level of expertise throughoutInclude specific, actionable advice that my audience can implementKeep paragraphs short (1-3 lines) for mobile readabilityTotal length should be 12-20 paragraphs maximumReview the "Post Templates" document as a starting framework and select one that best promotes the message behind the content we’re creating
The post should appear as if written naturally by me as a professional in my field, without directly referencing these instructions or explicitly mentioning that you're following a template.
Note: Ideally, you’ll update the names of the files to match the instructions. However you do it, the less thinking you need AI to do in finding the right docs, the more effort it can spend on writing your content.
Step 6: Test and Tweak
At this point, you should have six files in your project folder and a set of instructions uploaded.
With this, you’re ready to start creating content.
Give the prompt as much information about the topic as you can and let it do its magic. It’s really important that you give your own unique ideas and perspective; otherwise, you’re going to get the same AI garbage you can find everywhere.
You’re using AI as a tool to help organize your thoughts, not do the thinking for you.
After you’ve created some posts, tweak any of the instructions or the other docs to match your needs.
Bringing it Home
I hope this guide is helpful and gets you creating some awesome content.
If you’re not already part of the Dynamic Agency Community, they’ve had access to this for nearly a year now.
We’re constantly adding new resources, with and without AI, to help agency owners make their lives easier.
If you want to join the fun, it’s only $97 a year. Yes, A YEAR.
It’s not hard for the community to pay for itself.
In addition to these resources, we run a weekly call where you can ask any questions and get responses from agency advisors and your peers.
I’m building a community around ACCESS. I never want you stuck in your business.
The Dynamic Agency Community is one of the ways I can do this.
